I2P
Last updated: 10/23/2025
I2P (Invite2Pay) facilitate the payment process between tenants and their customers.
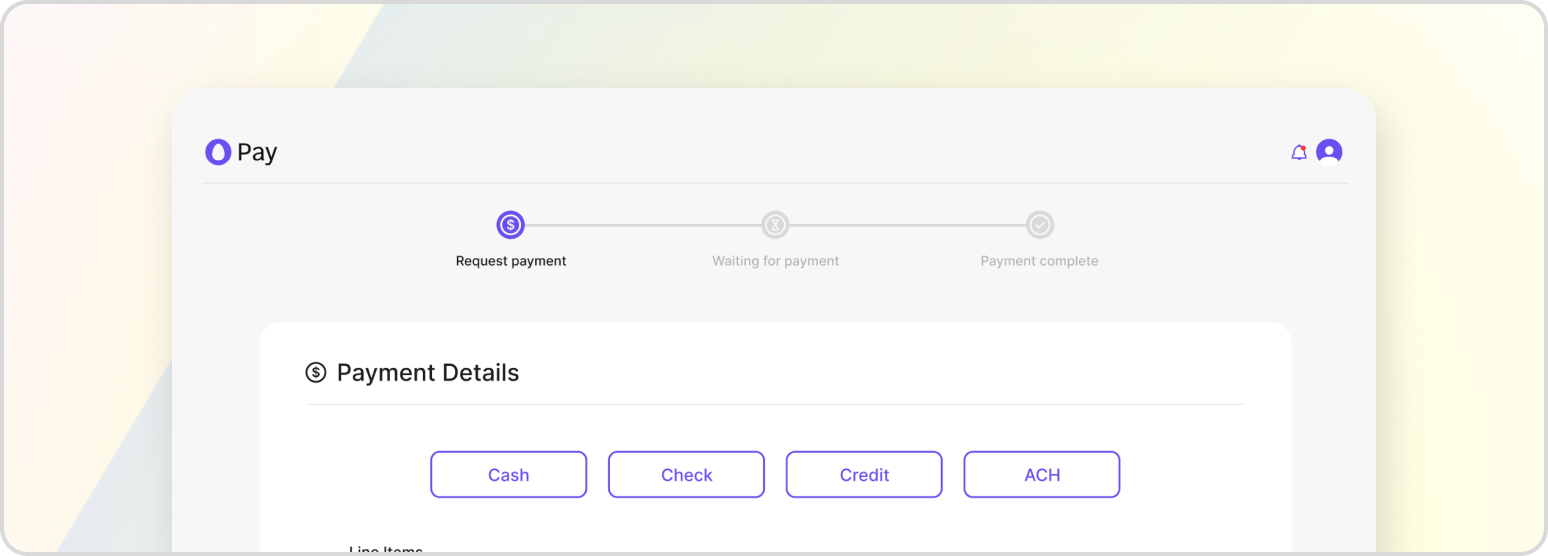
Invite2Pay (I2P) is a user-friendly interface provided by Tempus that allows customers to input their payment information after the user initiates a transaction via email or text. The I2P interface is designed to be easy to use and understand, with clear instructions and fields for the customer to input their payment information. This includes fields for the customer’s name, address, email, phone number, and payment method (e.g., credit card, bank transfer, etc.). Additionally, the I2P interface can be customized to match the look and feel of your business, allowing you to create a seamless payment experience for your customers.
Getting I2P Setup
If your payment gateway is Tempus, then you can use I2P (Invite2Pay) to process payments within your HatchPay account. However, if your payment gateway is not Tempus, then I2P will not be available for use.
To set up I2P in your own front-end, you can refer to our Intergate I2P UI iFrame tutorial, which contains more information on how to do so. This tutorial will walk you through the process of adding an I2P UI iFrame to your website or application, and connecting it to your HatchPay account. It is important to note that you need necessary credentials and settings in place to properly authenticate and secure your I2P connection.
Reviewing Active Codes
If you need to review all active transactions, you can use the following endpoint to display a list of all active I2P codes in order to find the transaction tied to the one you’re looking for:
GET /v1/invite-to-pay/i2p-codes
This endpoint will return a list of all active I2P codes, including the code itself, the customer’s name and email, the payment method used, and the amount paid. You can use this information to quickly identify the transaction you are looking for, and to take appropriate action if necessary (e.g., refunding the payment, voiding it, etc.).
Marking a Transaction as Invite2Pay
When creating a transaction within your HatchPay account, you can set it as an I2P (Invite2Pay) transaction by setting the appropriate flag in the request (see Mark Transaction as an I2P Request). By setting the I2P flag in the transaction request, you are indicating that this is an I2P transaction and that it should be processed through the I2P payment gateway. This will allow you to take advantage of the features and benefits of using I2P within your HatchPay account.
It is important to note that not all payment methods support I2P transactions. If you attempt to set an I2P transaction for a payment method that does not support it, then the transaction may be rejected or failed to process properly. Therefore, it is important to ensure that you are using a supported payment method and that you have the necessary credentials and settings in place to properly authenticate and secure your I2P connection.
Resending a Link
If the customer provides incorrect contact information or if a service error occurs, you may need to resend the I2P link to the customer. To do this, you can follow the steps outlined in our Resending an I2P Link tutorial.
When resending the link, it is important to ensure that you are using the correct contact information for the customer, and that you are using the appropriate payment method and amount. Additionally, you should ensure that you have properly authenticated and secured your I2P connection before sending the link to the customer.
Branding
When using I2P within your HatchPay account, you can customize the branding of the payment page to match your business. This includes changing the title and image that the customer sees at the top of the screen. To do this, you can refer to our I2P Branding tutorial, which contains more information on how to customize your I2P branding. Note that this would require adding additional HTML to your page.